SSRS offers the possibility to access the Report Server through the URL. This is a very practical functionality for the users. It allows us to access the report server in a user-friendly way. This article will elaborate on how to configure and use the Report Server URL in SSRS 2019.
The SSRS URL allows us to send requests to the report server and get results from it in a user-friendly environment. This functionality can be configured through the Web Service URL tab of the Report Server Configuration Manager.
Configuration of Web Service URL
The process of configuring the SSRS URL access can be described with the following steps:
1. Launch Report Server Configuration Manager by selecting Start -> Programs -> Microsoft SQL Server 2019 -> Report Server Configuration Manager.
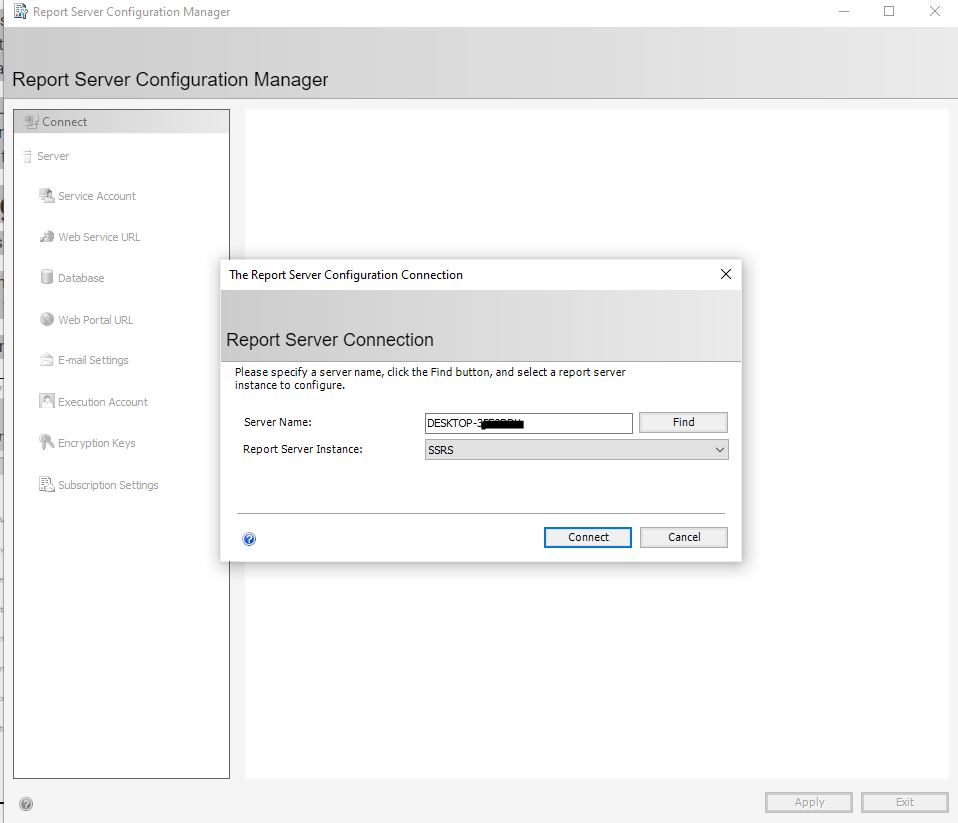
2. Connect to the report server we want to configure SSRS URL access for.
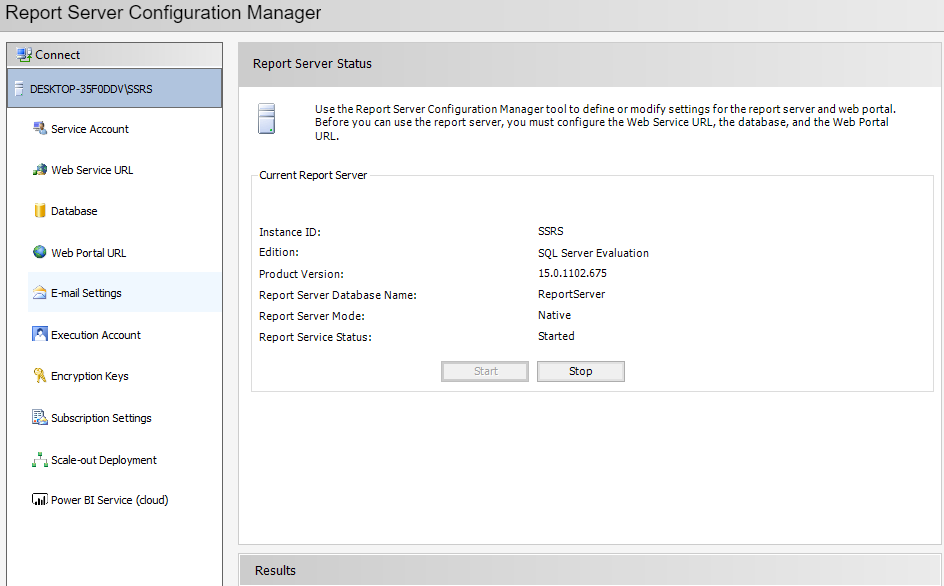
3. The default window of the Report Server Configuration Manager will open.
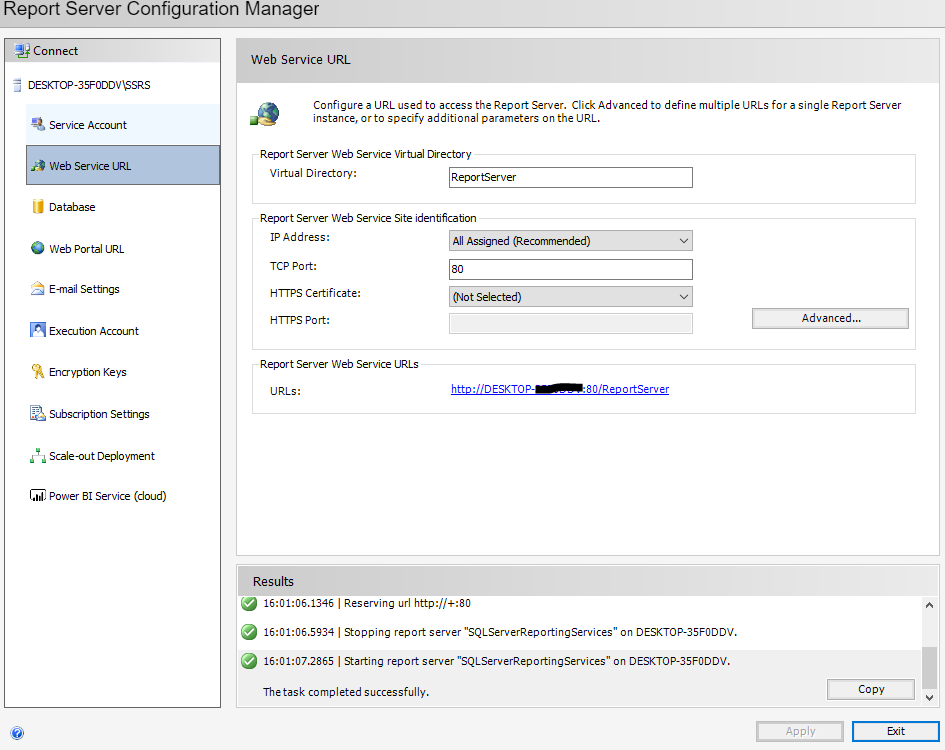
4. Click on the Web Service URL tab. The figure below shows the situation when we have only one URL defined with the default configuration values.
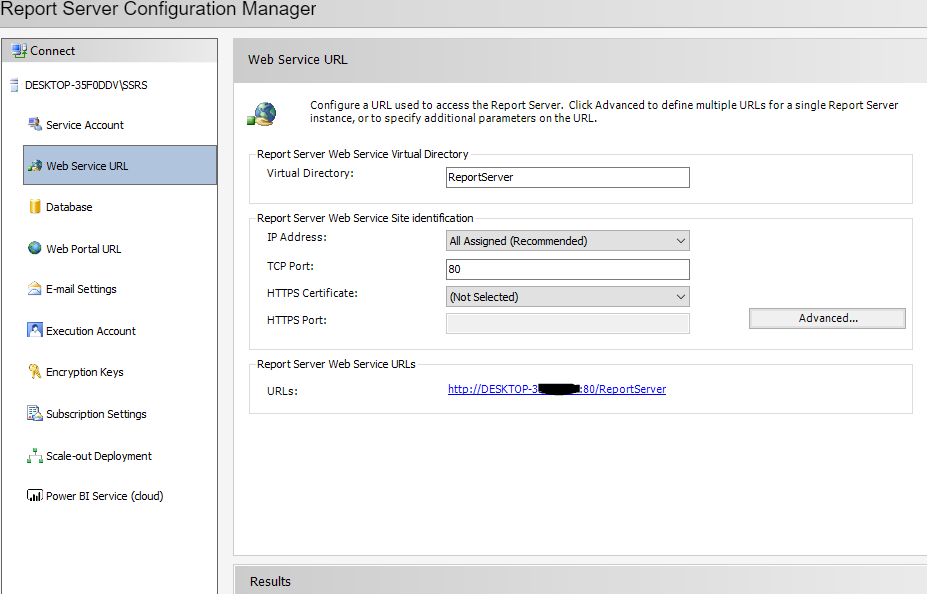
5. The Web Service URL tab is used to configure SSRS URL access. The tab has three sections:
a. Report Server Web Service Virtual Directory – defines which application picks up the request. The value is required and the default name provided is ReportServer. This virtual directory is connected with an instance of Reporting Services application with a one-to-one relation. This means if we create many URLs that are related to the same application instance, all the URLs have to use the same virtual directory name.
b. Report Server Web Service Site Identification – it consists of four parameters:
i. IP address – the IP address of the computer where the report server is installed. During the configuration, the user can choose one of the following values for this field to be populated:
• All Assigned – a URL that will point to the report server application can hold any of the IP addresses that are assigned to the report server computer. This option is preferred.
• All Unassigned – a URL that will point to the report server application will take care of any request that is not being handled by any other application. This option should be avoided.
• 127.0.0.1 – only users who can locally login to the computer where the report server is installed can access the report server application.
• ::1 – the loopback address in IPv6 format.
• Specific IP addresses in the list – we will see these in two cases: if we have multiple network adapter cards on our computer, or if our computer supports both IPv4 and IPv6 formats. If we select one such IP address, we will limit the access to the report server only through this IP address and particular network adapter card having this.
ii. TCP Port – the default port number is 80 because it can be distributed among other applications.
iii. HTTPS Certificate – if we have an SSL certificate installed on our machine, we can assign one to the URL. This is optional.
iv. HTTPS Port – in case we have assigned an SSL certificate to the URL, we have the possibility to specify a custom port for it. The default value being used is 443.
c. Report Server Web Service URLs – here we can see how the defined URL for the report server looks like.
We also have the possibility to configure various HTTP identities for currently selected Reporting Services features. This can be done by clicking on the “Advanced” button in the “Report Server Web Service Site identification” section. Here we can add a new one, remove, or edit the existing identity. For example, we can add a header for the current HTTP identity. We do this by doing the following:
1. Click on the “Advanced” button. The window below will open.
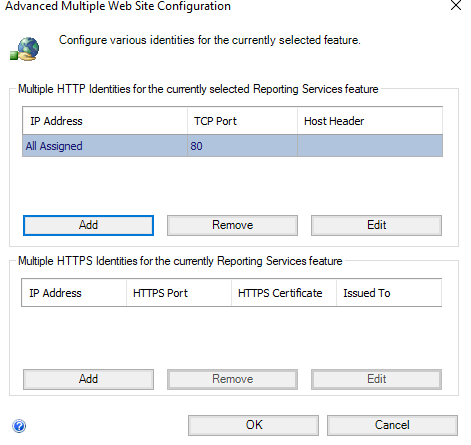
2. Click on the “Edit” button. A new window will open.
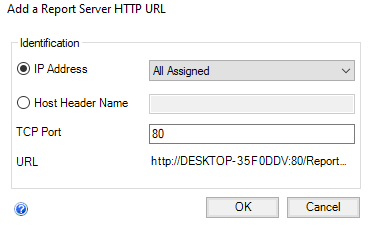
3. Click “OK” twice to close both windows. We will see now that the URL has changed in the “Web Service URL” tab as well.
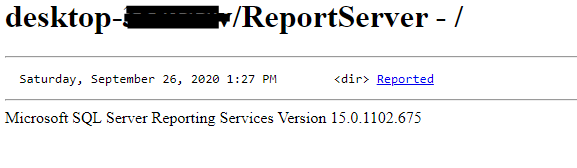
4. In order to access the report server via the SSRS URL, all we need to do is to click on the link. The link will open in a browser and will look like in the figure below.